
Create a local macOS sandbox with the Cua CLI
Create a macOS Tahoe sandbox on an Apple silicon Mac with `cua sb create macos`, run a command, take a screenshot, open its desktop, and remove it.
Create a macOS Tahoe sandbox on an Apple silicon Mac with `cua sb create macos`, run a command, take a screenshot, open its desktop, and remove it.
Requirements: Apple silicon, macOS 14 or later, about 40 GB free disk and 8 GB free memory.
curl -fsSL https://cua.ai/install.sh | shcua runtime doctor
cua runtime setup lume # installs Lume if it is missingcua sb create macos --name macID STATUS LOCATION KIND RUNTIME EXPIRES
local:mac ready local vm lume -macos is ghcr.io/trycua/macos:26 (Tahoe); macos:sequoia is :15. The
first create pulls the image (23 GB, about 8 min); later creates clone it and
are ready in about 25 s. The Tahoe image starts cua-spacesd at login, with its
screen and accessibility permissions already granted.
cua sb exec mac -- sw_versProductName: macOS
ProductVersion: 26.5.2
BuildVersion: 25F84exec runs through cua-spacesd, with stdout, stderr and the exit code kept
apart. The Sequoia image (macos:sequoia) has no cua-spacesd; there exec
runs over SSH (lume ssh).
cua sb screenshot mac -o desktop.pngwrote desktop.png (1024x768)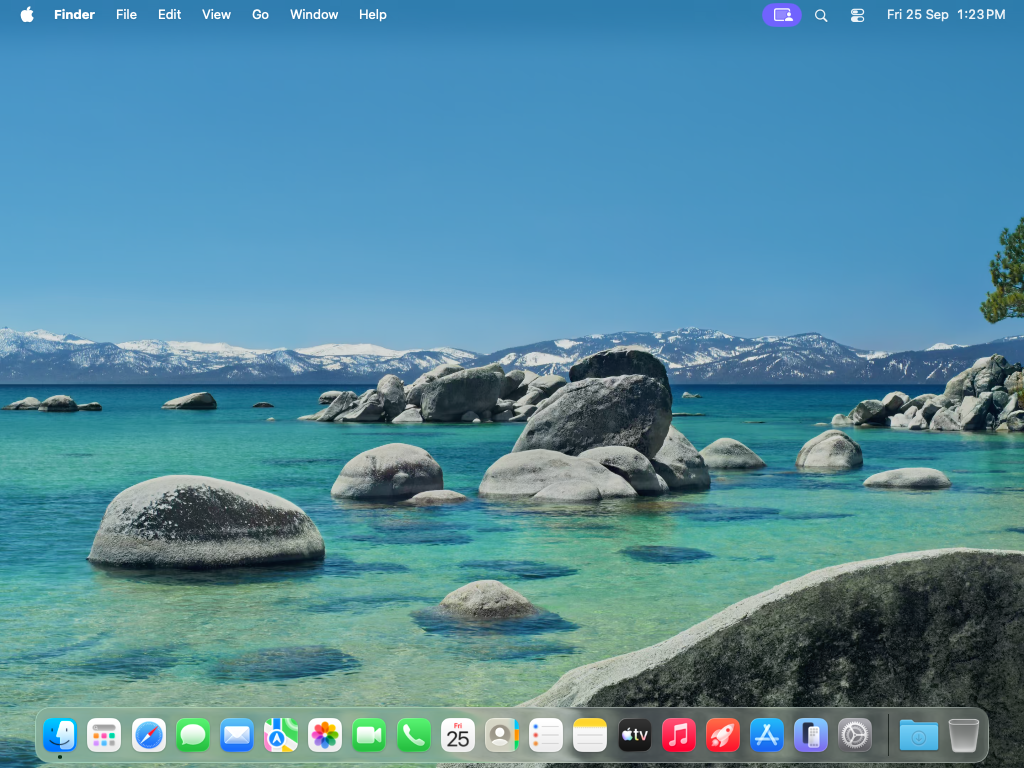
cua sb view macViewer for mac: http://192.168.64.63:3211/viewer/#ticket=****&files=%2FUsers%2Flumeview opens cua-spacesd's HTML5 viewer in the browser with a short-lived
ticket (--no-open prints the URL instead). On Sequoia, which has no
cua-spacesd, screenshots come over the VM's VNC endpoint and view opens the
display with lume attach.
cua sb rm macThe pulled image stays as a stopped base VM for the next create; cua cache ls
lists it.
from cua_sandbox import Image, Sandbox

async with Sandbox.ephemeral(Image.macos()) as sb:
    print((await sb.shell.run("sw_vers")).stdout)
    png = await sb.screen.screenshot()
sb.shell and sb.screen go through cua-spacesd, the same path as the CLI.